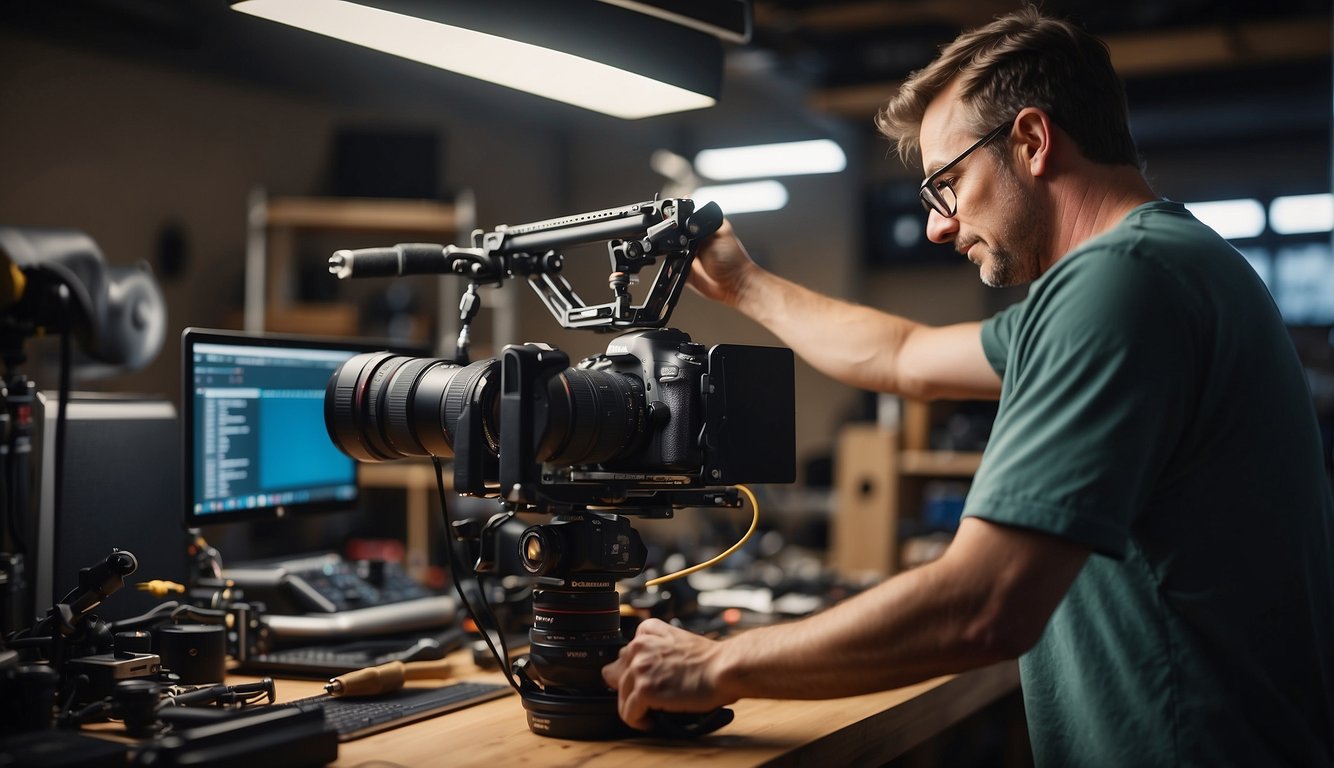
If you’re looking to improve the quality of your videos, an overhead camera rig can be a game-changer. Not only does it give you a unique angle to work with, but it also frees up space on your desk and helps you keep your workspace organized. The good news is that building your own DIY overhead camera rig is easier than you might think.
To get started, you’ll need a few basic tools and supplies, including PVC pipes, clamps, and a camera mount. Don’t worry if you’re not a DIY expert – we’ll walk you through the process step by step. With a bit of patience and some attention to detail, you’ll have a professional-looking overhead camera rig in no time.
Once you’ve built your rig, you’ll be able to create high-quality videos for your YouTube channel or other video projects. Whether you’re a professional filmmaker or just starting an overhead camera rig can help take your videos to the next level. So, let’s get started and build your DIY overhead camera rig today!
Table of contents
Understanding Overhead Camera Rigs
If you’re interested in creating high-quality videos or taking stunning product shots, then you should consider using an overhead camera rig.
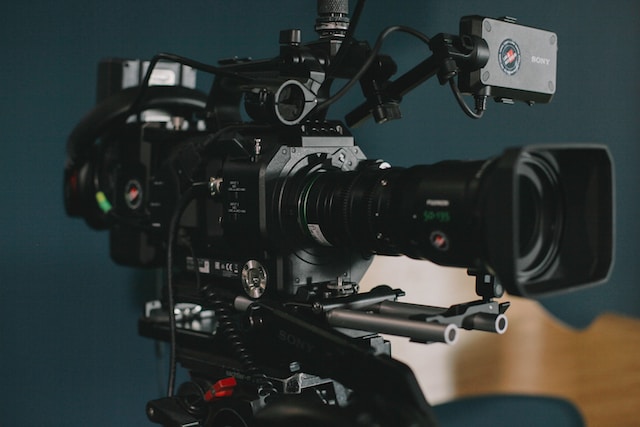
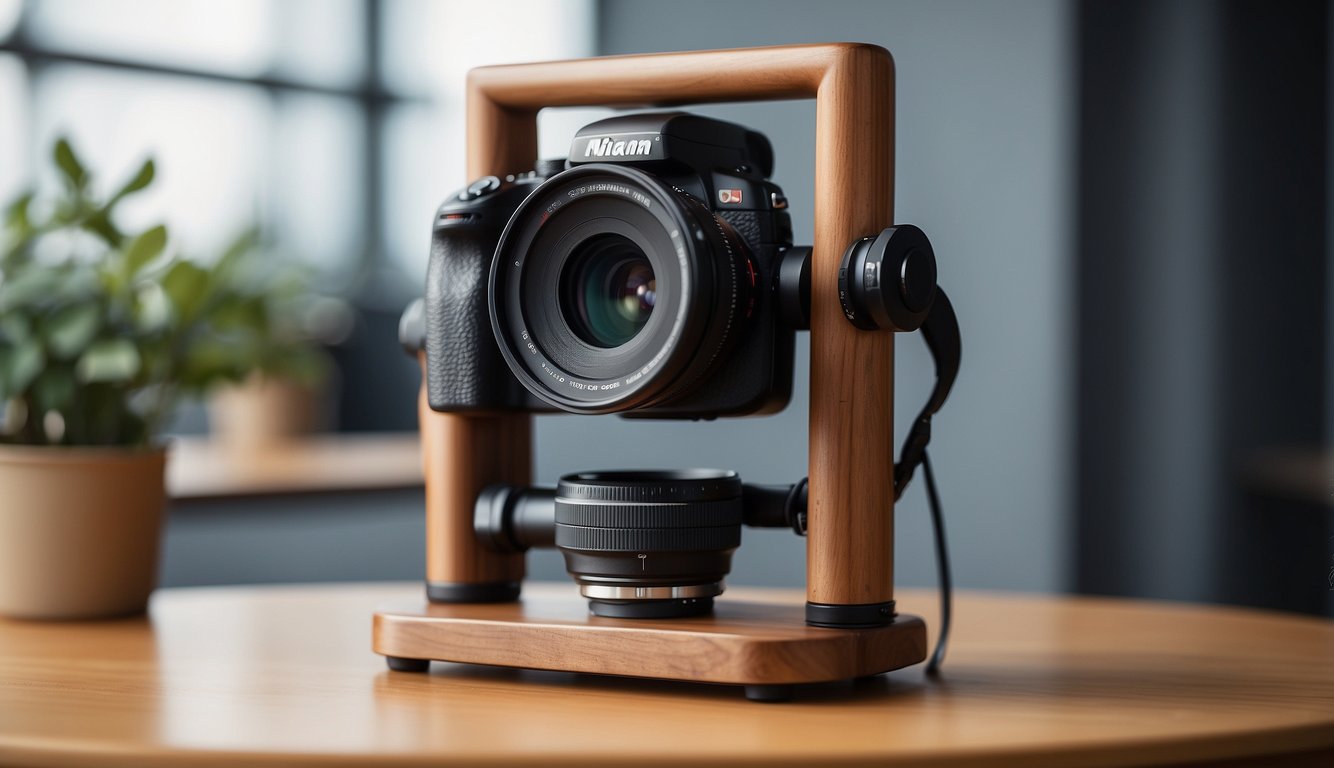
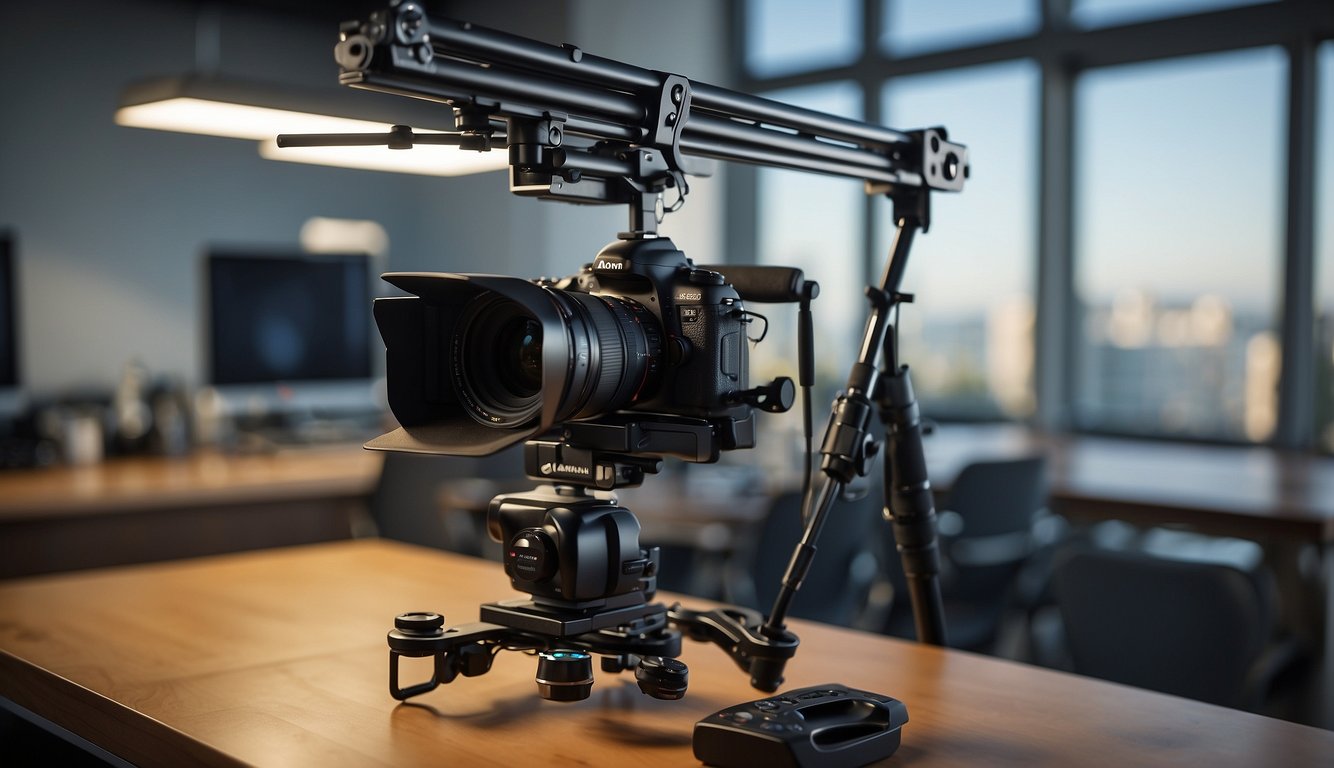
An overhead camera rig is a device that suspends a camera above a subject, providing a bird’s eye view of the scene. This type of camera rig is beneficial for capturing overhead shots of products, food, or people.
Benefits of an Overhead Camera Rig
There are several benefits to using an overhead camera rig. First, it allows you to capture unique and creative shots that aren’t possible with a traditional camera setup.
Second, it provides a stable and consistent platform for your camera, reducing the risk of shaky footage. Third, it frees up space on your work surface, allowing you to focus on your subject without having to worry about the camera getting in the way.
Types of Overhead Camera Rigs
There are several types of overhead camera rigs available, each with its advantages and disadvantages. Here are some of the most common types:
- DIY Rig: A DIY rig is a homemade camera rig that you can build using materials found at your local hardware store. This type of rig is affordable and customizable, but it may not be as stable or durable as a commercial rig.
- Tabletop Rig: A tabletop rig is a small camera rig that sits on top of a table or work surface. This type of rig is ideal for capturing product shots or food photography, but it may not be suitable for more significant subjects.
- Ceiling Rig: A ceiling rig is a camera rig that hangs from the ceiling or a support structure. This type of rig provides the most stability and flexibility, but it may require professional installation and can be expensive.
No matter which type of overhead camera rig you choose, it’s important to take the time to set it up correctly and ensure that it’s secure before using it.
With a bit of practice and patience, you’ll be able to capture stunning overhead shots that will take your videos and photos to the next level.
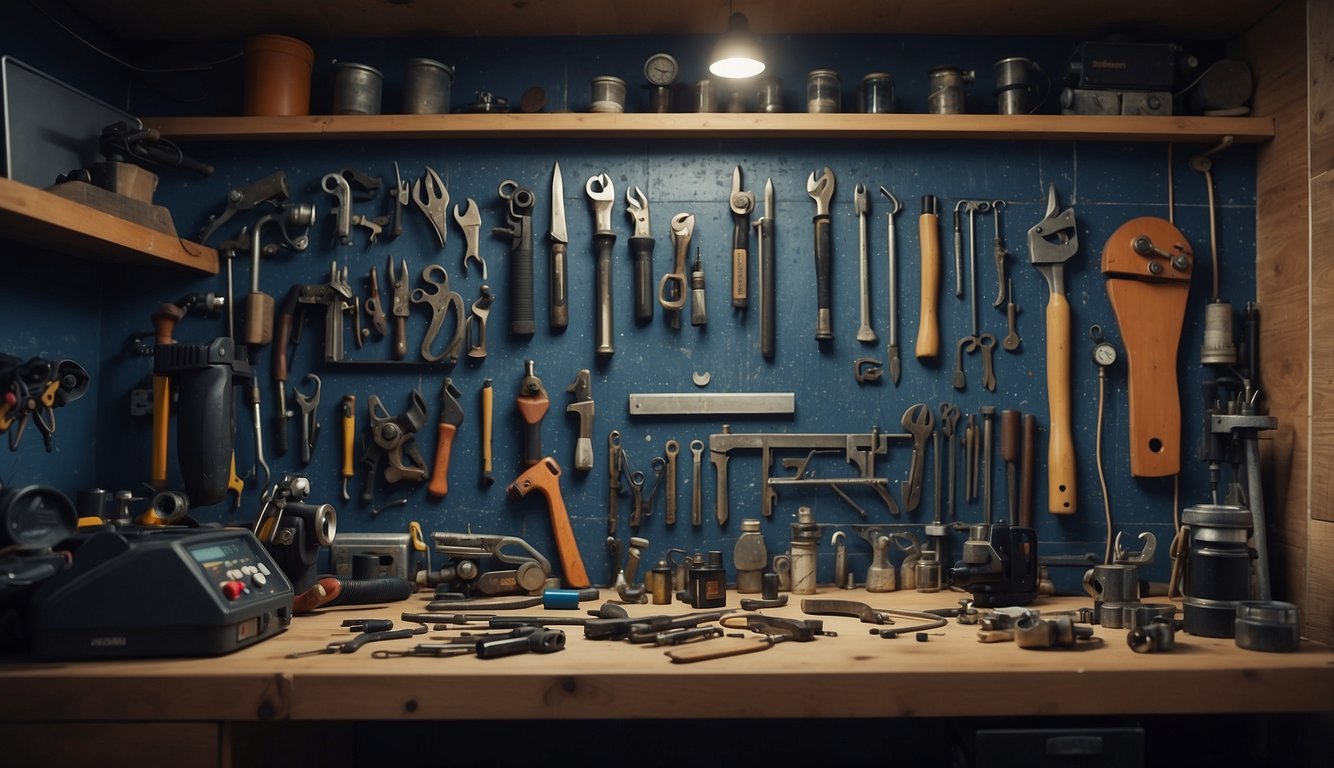
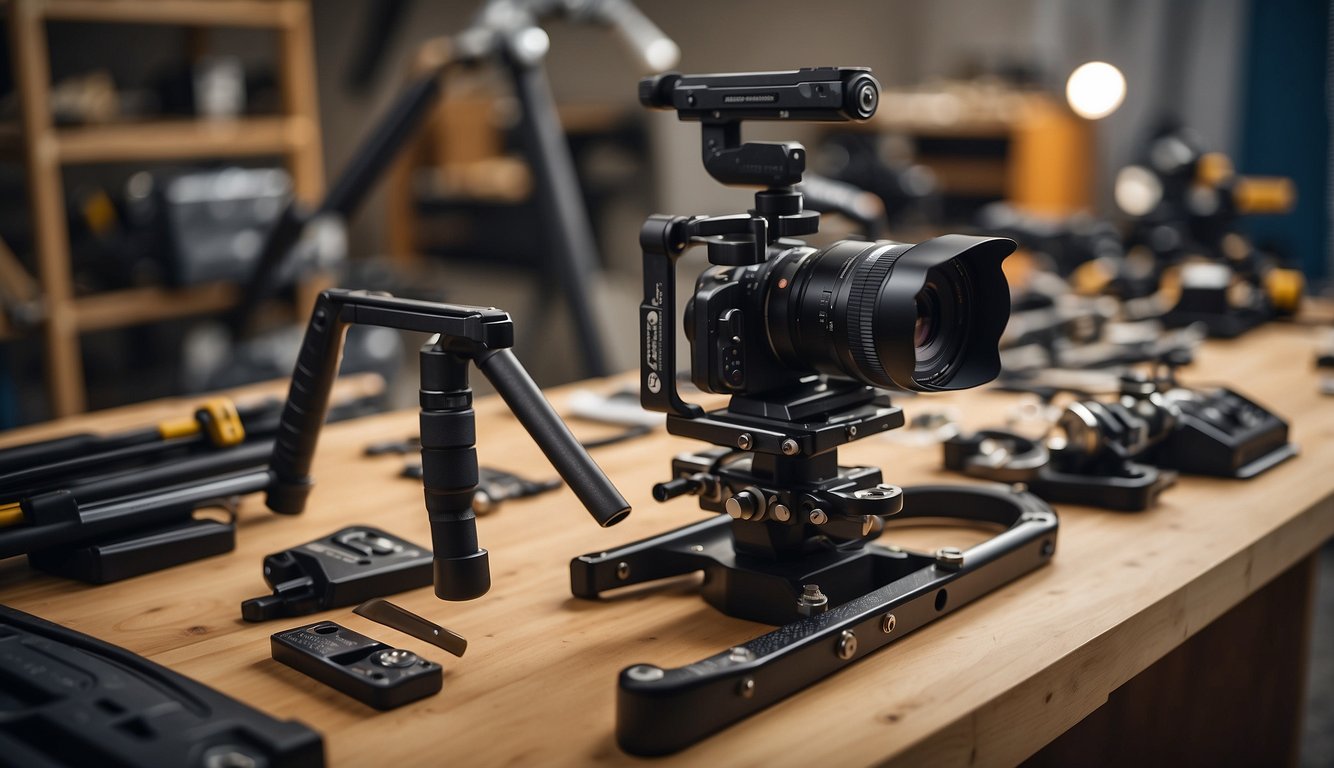
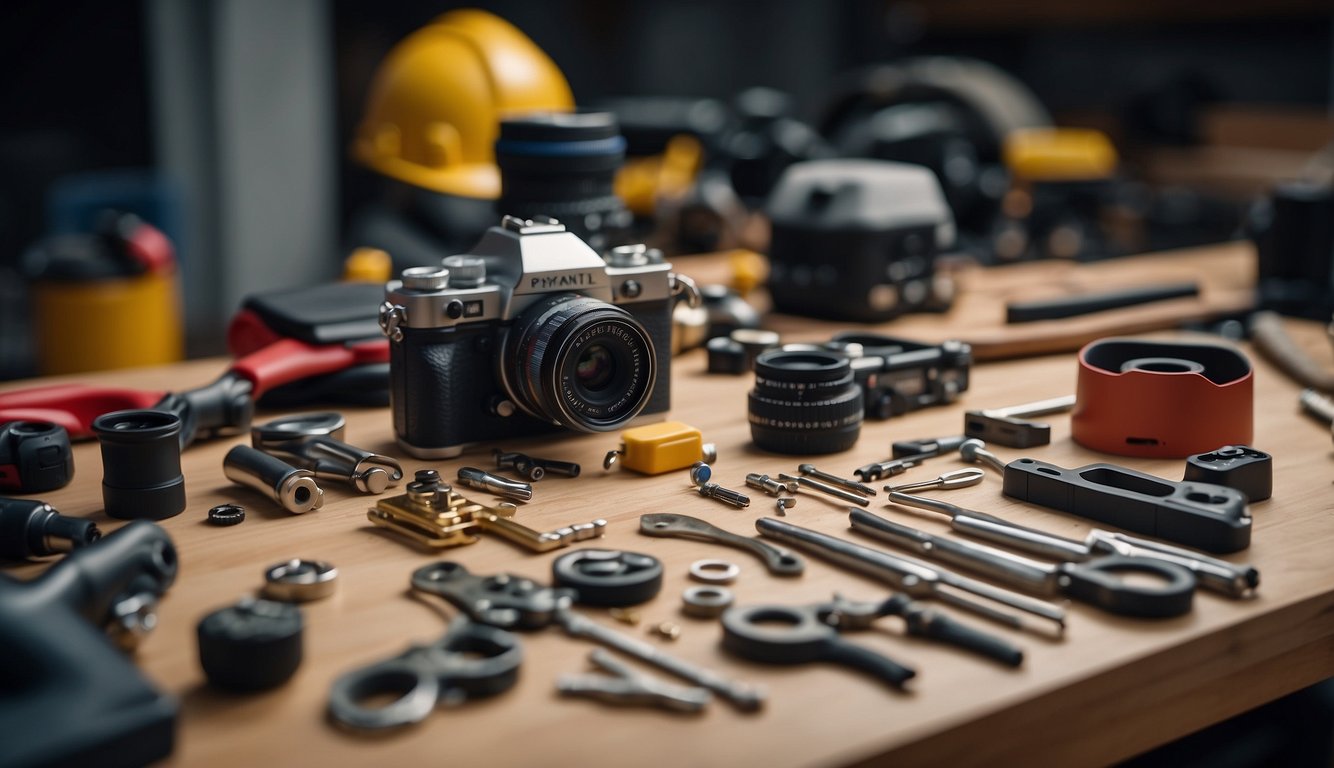
Tools and Materials
Choosing the Right Wood
When building a DIY overhead camera rig, choosing a suitable wood is crucial. You want a sturdy, durable material that can support the weight of your camera and lighting equipment.
Plywood is a popular choice for its affordability and strength. Look for plywood with a thickness of at least 1/2 inch to ensure stability.
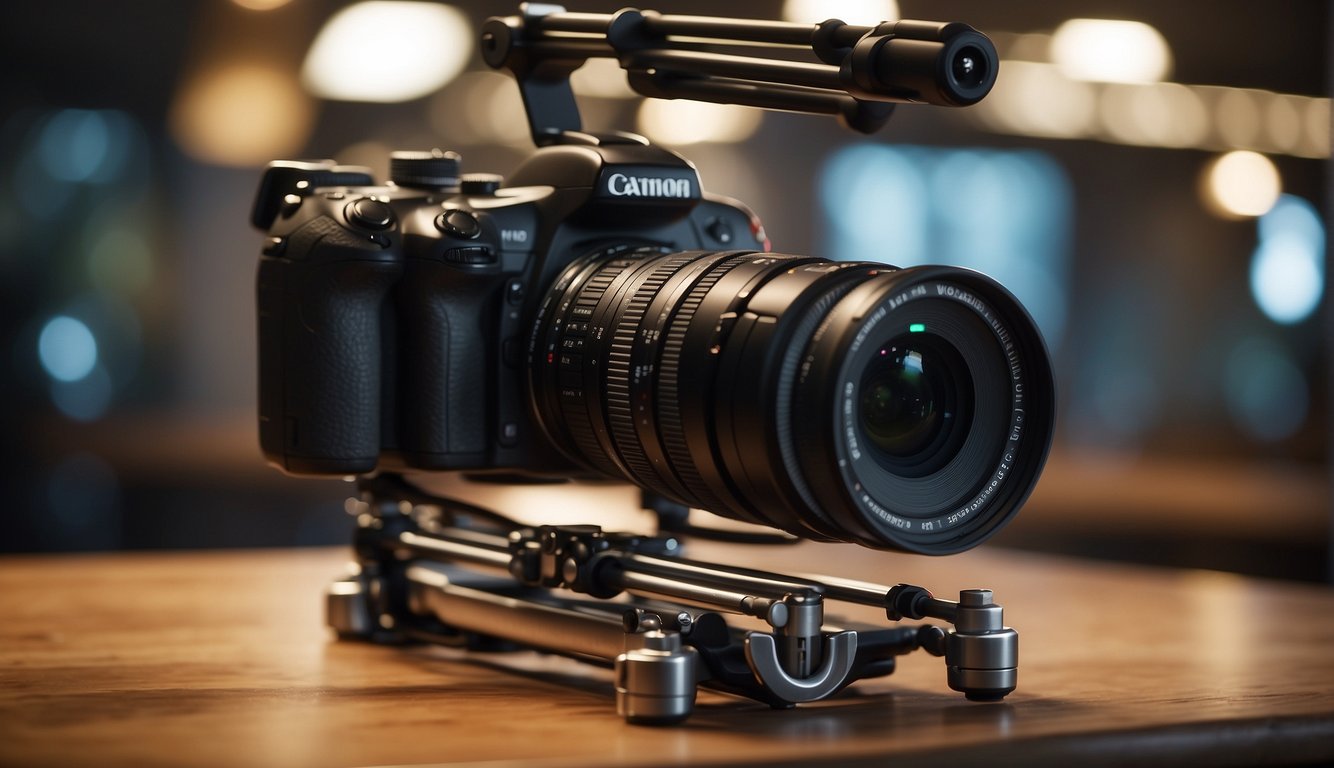
Selecting a Sturdy Tripod
A sturdy tripod is essential for supporting your overhead camera rig. Look for a tripod with a weight capacity that can handle the weight of your camera and lighting equipment.
A tripod with adjustable legs and a center column can help you position your camera at the perfect angle.
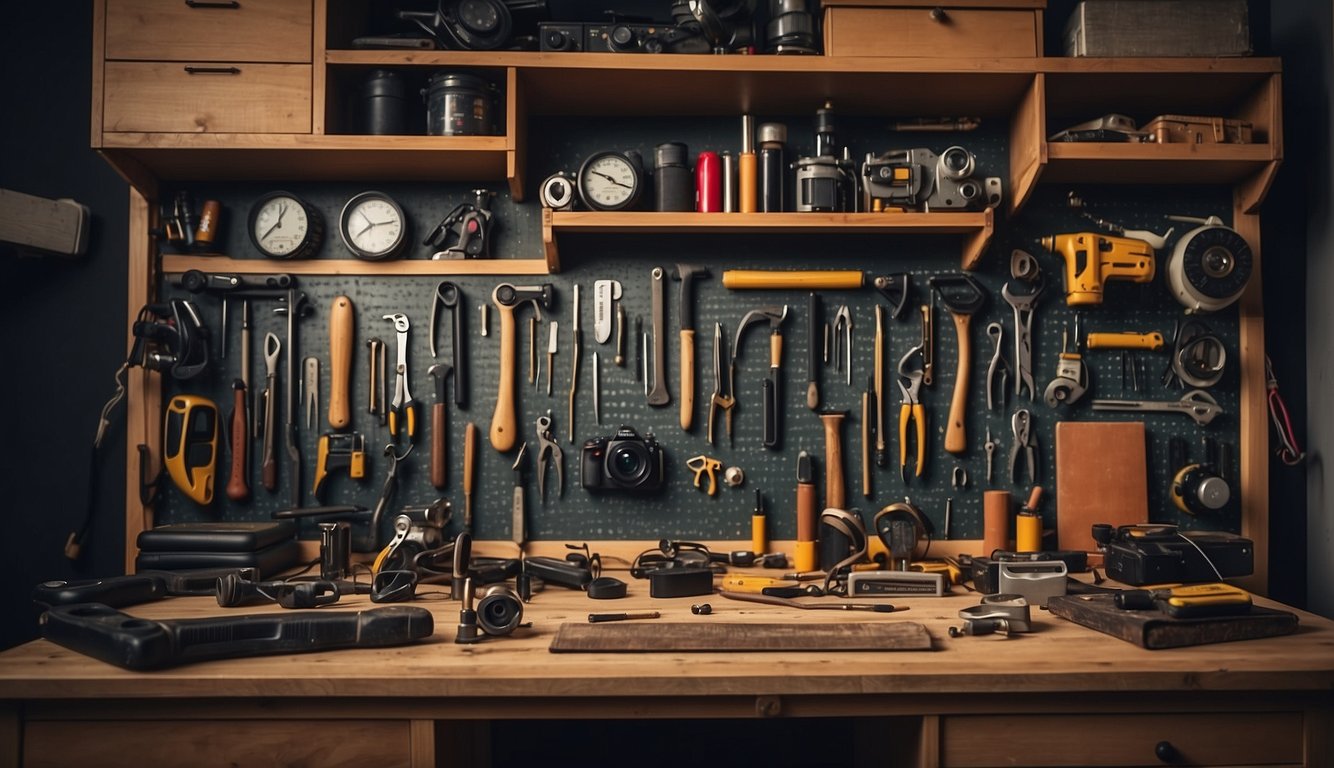
Hardware Essentials
To assemble your DIY overhead camera rig, you will need a variety of hardware essentials such as screws, wing nuts, nuts, and washers. Make sure to choose hardware that is compatible with the thickness of your plywood. A clamp can also be useful for securing your rig to a table or other surface.
In addition to these essentials, you may also want to consider adding paper roll holders to your rig for easy background changes during your photo or video shoots. A drill will also be necessary for drilling holes and assembling your rig.
By selecting suitable materials and tools, you can build a sturdy and reliable DIY overhead camera rig that will help you take your photography and videography to the next level.
Designing the Rig
Determining the Size
Before you start building the overhead camera rig, you need to determine the size of the rig that will work best for your needs. Consider the size of the frame, the camera, and the work surface you will be using. Measure the height and width of your desk or work surface to ensure that the rig will fit comfortably on top of it.
Next, determine the size of the rails and camera track that will be needed to support your camera. The rails should be long enough to allow the camera to move smoothly along the track but not so long that they take up too much space on your desk or work surface.
Creating a Sketch
Once you have determined the size of the rig, it’s time to create a sketch. Sketching out your design will help you visualize the rig and ensure that all the necessary components are included.
Start by sketching the frame of the rig, including the measurements of each component. Be sure to include the rails and camera track in your sketch.
Next, sketch the location of the camera on the rig. This will help you determine the placement of the rails and camera track.
Finally, sketch the desk or work surface that the rig will be placed on. This will help you determine the size of the rig and ensure that it will fit comfortably in your workspace.
By determining the size and creating a sketch, you can ensure that your DIY overhead camera rig will be the perfect fit for your workspace and camera needs.
Building the Frame
Cutting the Wood
The first step in building your DIY overhead camera rig is to cut the wood for the frame. You will need four pieces of wood, each measuring 2x4x8 feet.
You can use a saw to cut the wood to the desired length. Cut two pieces to a length of 4 feet and two pieces to a length of 3 feet.
Assembling the Frame
Once you have cut the wood, it’s time to assemble the frame. Start by laying the two 4-foot pieces of wood parallel to each other, with the shorter 3-foot pieces placed between them perpendicularly. Use screws to attach the shorter pieces to the longer pieces.
Next, attach the remaining 4-foot pieces of wood to the top of the frame to create a rectangular shape. Use screws to attach the pieces securely.
Finally, use wood glue to reinforce the joints and ensure that the frame is sturdy. Allow the glue to dry completely before moving on to the next step.
You can paint the frame to match your style or leave it as is. Your DIY overhead camera rig frame is now complete and ready for the next step in the building process.
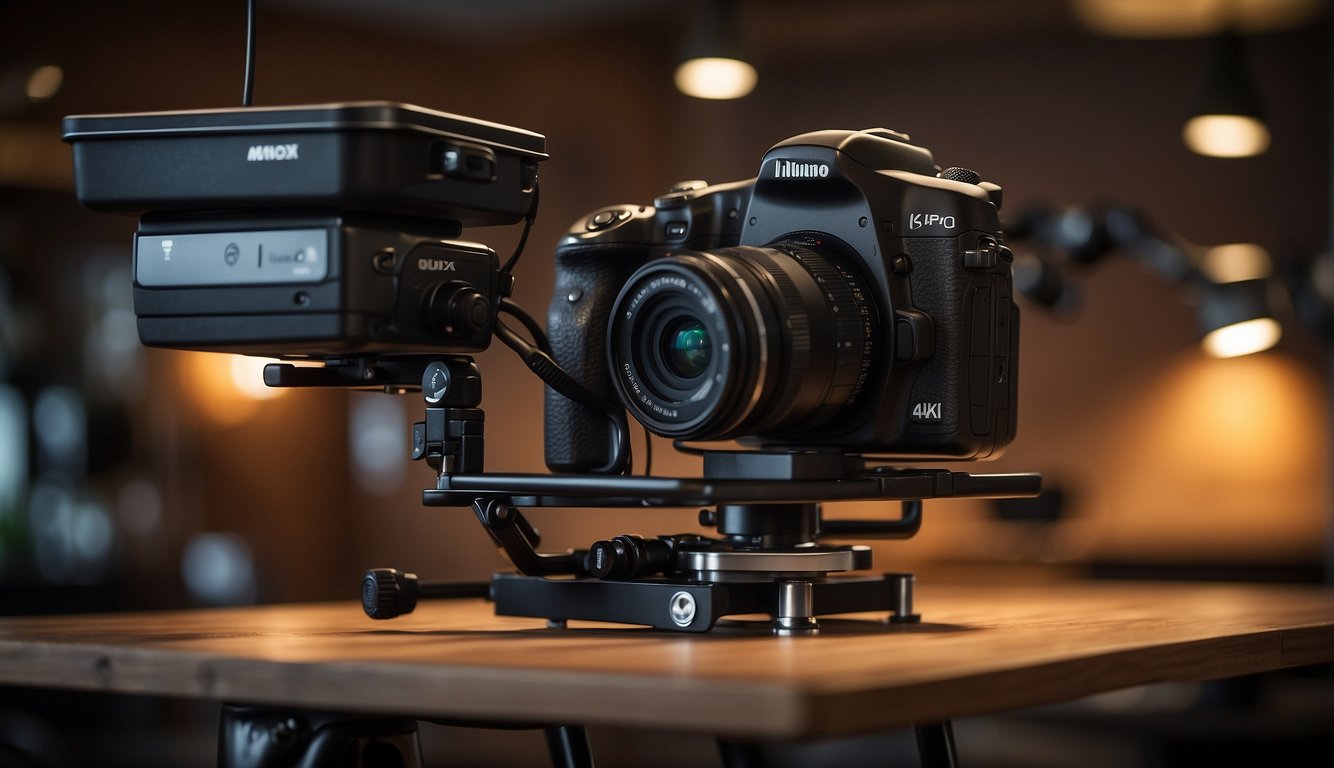
Mounting the Camera
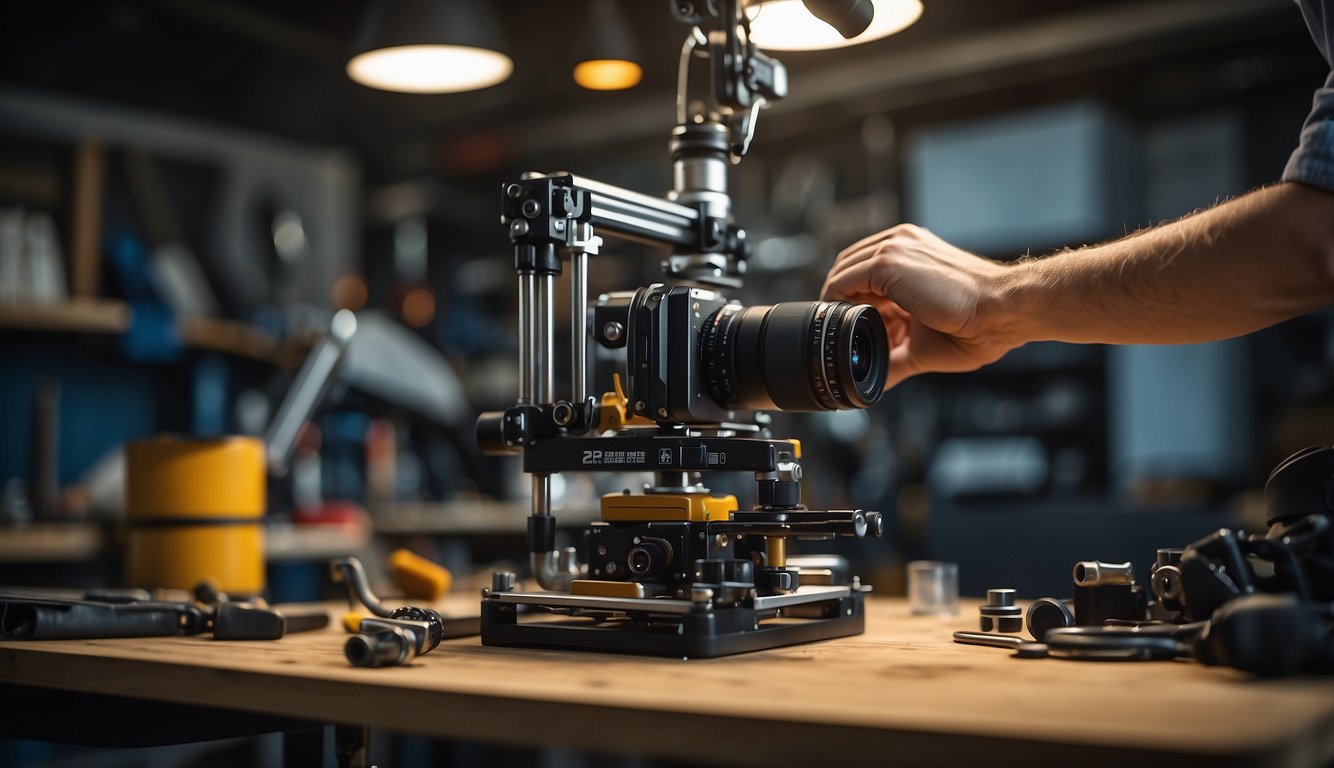
When building a DIY overhead camera rig, mounting the camera is a crucial step. This section will guide you through the process of attaching the camera to the rig.
Attaching the Tripod
The first step in mounting the camera is to attach the tripod to the rig. To do this, you will need to use brackets or clamps to secure the tripod legs to the rig. Make sure the tripod is level and securely attached to the rig to prevent any wobbling or movement during filming.
Securing the Camera
Once the tripod is attached, it’s time to secure the camera. Start by attaching a clamp to the rig and then attach the camera to the clamp. Make sure the camera is level and securely attached to the clamp to prevent any movement during filming.
If you are using a DSLR camera, you may need to attach a quick-release plate to the camera to make it easier to attach and detach from the rig. This plate can be attached to the bottom of the camera and then secured to the clamp.
It’s important to note that the weight of the camera and any additional equipment, such as lenses or lights, should be taken into consideration when attaching the camera to the rig. Make sure the rig and tripod can support the weight of the camera and equipment to prevent any accidents or damage.
By following these steps, you can confidently mount your camera onto your DIY overhead camera rig and start filming your next project.
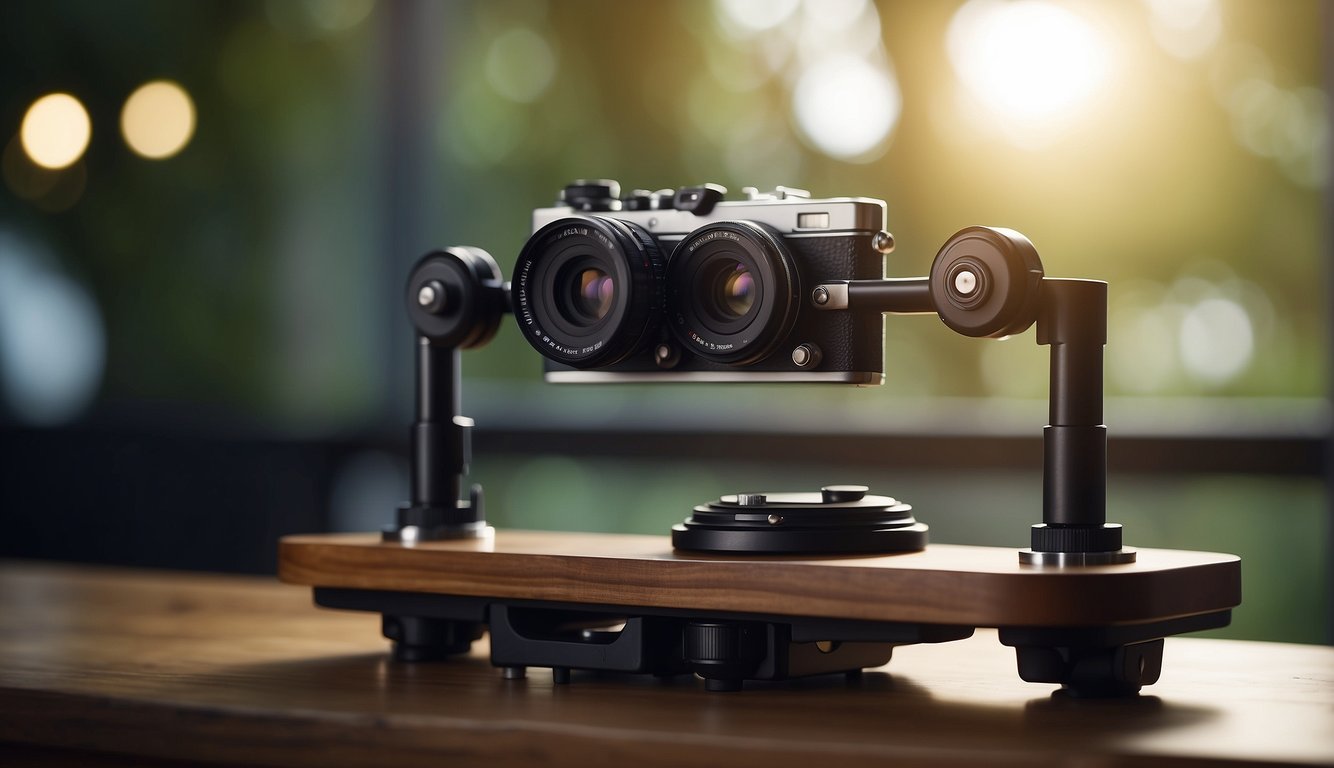
Adding Stability
When building a DIY overhead camera rig, adding stability is crucial to ensure that your rig remains steady and secure during use. This section will discuss two main ways to add stability to your rig: constructing the legs and counterweight solutions.
Constructing the Legs
The legs of your rig are what will provide the foundation and support for your entire setup. It is important to construct them in a way that is sturdy and secure. One option is to use c-stands as the legs of your rig.
C-stands are commonly used in the film and photography industry and are known for their stability and adjustability. They also have grip heads that allow you to attach and adjust the height of your rig.
If you opt to use c-stands, make sure to choose ones that are heavy-duty and have a wide base. You can also add sandbags or weights to the legs for added stability.
Another option is to construct your legs using PVC pipes or metal rods. Make sure to use sturdy materials and construct them in a way that allows for easy adjustment and leveling.
Counterweight Solutions
Another way to add stability to your rig is by using counterweights. Counterweights help balance the weight of your camera and rig, preventing it from tipping over. One option is to use sandbags as counterweights. You can attach them to the legs of your rig or hang them from the top bar.
Another option is to use weight plates, such as those used in weightlifting. They can be attached to the bottom of your rig or hung from the top bar. Make sure to use weight plates that are heavy enough to counterbalance your camera and rig.
In conclusion, adding stability to your DIY overhead camera rig is essential for safe and successful use. By constructing sturdy legs and using counterweights, you can ensure that your rig remains secure and steady throughout your filming or photography session.
Enhancing Functionality
Incorporating Paper Roll Holders
If you plan to use your overhead camera rig for filming tutorials or demonstrations, incorporating paper roll holders can be a helpful addition. These holders can be attached to the sides of your rig, allowing you to easily pull down and tear off sheets of paper for note-taking or sketching.
To create paper roll holders, you can use PVC pipes or copper piping. Measure the length of your paper roll and cut the piping accordingly. Then, attach the piping to the sides of your rig using clamps or brackets. Make sure the holders are securely fastened to prevent any accidents.
Building a Movable Camera Track
A movable camera track can add versatility to your overhead camera rig, allowing you to capture footage from different angles and perspectives. To build a camera track, you will need rails, a camera mount, and a carriage.
First, measure the length of your rails and cut them to size. Then, attach the camera mount to the carriage and place it on the rails. Make sure the carriage moves smoothly along the rails without any hiccups.
To move the camera along the rails, you can use a pulley system or a motor. A pulley system can be operated manually, while a motor can be controlled remotely. Choose the option that best suits your needs and budget.
Incorporating these features into your DIY overhead camera rig can enhance its functionality and make it more versatile for your filming needs.
Final Touches
Once you’ve completed the assembly of your DIY overhead camera rig, it’s time to add those final touches that will make it fully functional and safe to use. Here are some important steps to take before you start using your rig.
Applying Finishes
If you want your rig to look professional, you can choose to apply a coat of paint or other finish to the wooden parts. This will not only give it a clean and polished look but also protect the wood from damage.
Before applying any finishes, make sure that the wood is sanded and cleaned thoroughly. You can use a wood filler to fill any gaps or imperfections in the wood. Once the wood is ready, apply the finish of your choice and let it dry completely before using the rig.
Safety Checks
Before using your overhead camera rig, it’s important to perform some safety checks to ensure that it’s safe and stable. Here are some things to check:
- Make sure that all the bolts and screws are correctly tightened.
- Check that the camera mount is secure and can hold the weight of your camera.
- Test the stability of the rig by gently shaking it. If it wobbles or feels unstable, adjust the legs or the weight distribution until it feels secure.
- Check that the rig is level by using a spirit level. Adjust the legs if necessary.
It’s also important to follow safety guidelines when using the rig. Always make sure that the rig is set up on a stable surface and that it’s not overloaded with weight. Don’t lean on the rig or apply too much pressure on it. And never leave the rig unattended while it’s in use.
By following these final touches, you can ensure that your DIY overhead camera rig is safe, stable, and ready to use.
How to Use Your DIY Overhead Camera Rig
Congratulations! You have successfully built your own DIY overhead camera rig. Now, it’s time to put it to use. Here’s how you can use your overhead camera rig for photography and video recording.
Setting Up for Photography
When setting up your rig for photography, you want to make sure that your camera is positioned directly above your subject. This will ensure that you get a clear and accurate shot of your subject. Here are the steps to set up your rig for photography:
- Place your subject on the surface below the rig.
- Adjust the height of your rig to ensure that your camera is directly above your subject.
- Adjust the angle of your camera to ensure that your subject is in the frame.
- Adjust the lighting to ensure that your subject is well-lit.
Once you have set up your rig, you can start taking photos. Make sure to adjust the settings on your camera to get the best shot possible.
Adjusting for Video Recording
When using your rig for video recording, you want to make sure that your camera is stable and that your subject is in focus. Here are the steps to adjust your rig for video recording:
- Place your subject on the surface below the rig.
- Adjust the height of your rig to ensure that your camera is directly above your subject.
- Adjust the angle of your camera to ensure that your subject is in the frame.
- Adjust the lighting to ensure that your subject is well-lit.
- Adjust the focus on your camera to ensure that your subject is in focus.
- Make sure that your camera is stable and won’t move during recording.
Once you have adjusted your rig, you can start recording. Make sure to monitor the recording to ensure that your subject stays in focus and that the lighting is consistent.
With these tips, you can use your DIY overhead camera rig to take great photos and videos of your products or other subjects. Happy shooting!
Maintenance and Upgrades
Regular Maintenance
To ensure the longevity and functionality of your DIY overhead camera rig, it’s important to perform regular maintenance. This will help to prevent any potential problems and keep your rig in top condition. Here are a few maintenance tasks you should perform regularly:
- Clean the rig: Dust and debris can accumulate on the rig over time, which can affect its performance. Use a soft cloth to wipe down the rig and remove any dirt or dust.
- Check the screws and bolts: Over time, screws and bolts can loosen, which can affect the stability of the rig. Check all the screws and bolts regularly and tighten them if necessary.
- Lubricate moving parts: If your rig has any moving parts, such as hinges or joints, lubricate them regularly to prevent them from seizing up.
- Check the cables: Make sure all the cables are securely connected and not frayed or damaged.
Performing these maintenance tasks regularly will help to keep your rig functioning properly and extend its lifespan.
Upgrade Possibilities
If you’re looking to take your DIY overhead camera rig to the next level, there are several upgrade possibilities to consider. Here are a few ideas:
- Upgrade the camera mount: If you’re using a basic camera mount, consider upgrading to a more advanced mount that offers more stability and adjustability.
- Add a counterweight: If your rig is top-heavy, adding a counterweight can help to balance it out and prevent it from tipping over.
- Upgrade the lighting: If you’re not happy with the lighting on your rig, consider upgrading to brighter, more adjustable lights.
- Add a remote control: If you’re tired of having to adjust the rig manually, adding a remote control can make it much easier to operate.
These are just a few upgrade possibilities to consider. Depending on your specific needs and preferences, there may be other upgrades that make sense for your rig.
Showcasing Your Work
Once you have built your DIY overhead camera rig, it’s time to start creating engaging content and promoting your channel. In this section, we’ll discuss how to showcase your work effectively.
Creating Engaging Content
When showcasing your work, it’s important to create engaging content that will keep your viewers interested. Here are a few tips to help you create engaging content:
- Use high-quality equipment: Your viewers want to see high-quality videos and photos, so invest in good equipment, such as a high-resolution camera and a good lighting setup.
- Use interesting angles: With your overhead camera rig, you can capture unique angles that other cameras can’t. Experiment with different angles to make your content more engaging.
- Focus on the details: With your rig, you can capture small details that other cameras can’t. Use this to your advantage and showcase the details of your work.
- Be creative: Don’t be afraid to try new things, and be creative with your content. This will make your channel stand out from the rest.
Promoting Your Channel
Once you have created engaging content, it’s time to start promoting your channel. Here are a few tips to help you promote your channel effectively:
- Use social media: Social media platforms like Instagram and Twitter are great for promoting your channel and reaching a wider audience.
- Collaborate with other creators: Collaborating with other creators in your niche can help you reach a new audience and gain more exposure.
- Use keywords: Use relevant keywords in your video titles, descriptions, and tags to help your content show up in search results.
- Follow in the footsteps of successful creators: Look at successful creators like Peter McKinnon and see what they are doing to promote their channels. Take inspiration from their strategies and adapt them to your channel.
By following these tips, you can effectively showcase your work and promote your channel to a wider audience. With your DIY overhead camera rig and a bit of creativity, you can create high-quality content that will keep your viewers engaged and coming back for more.
